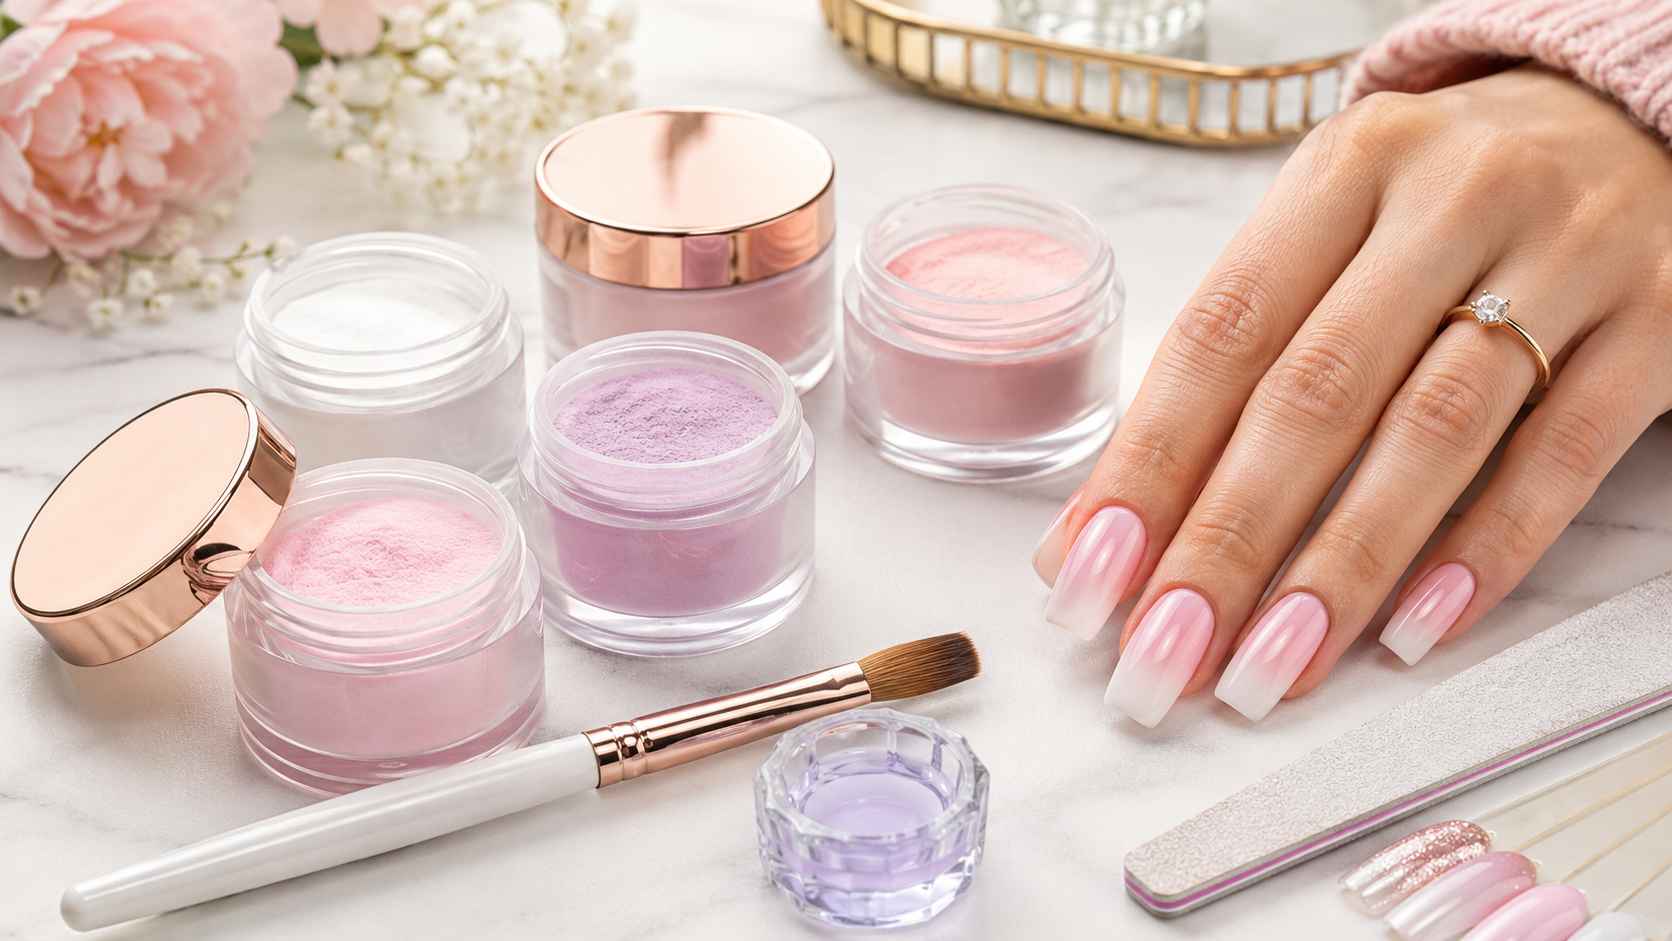
Acrylic Nail Powder: 11 Essential Facts for Beginners
Acrylic nail powder can look a little mysterious when you first open the jar. It’s soft and flour-like, yet a nail technician turns it into a firm extension that can be shaped, filed, and polished. Pretty clever. And once you understand what the powder actually does, choosing products and avoiding beginner mistakes gets much easier.
This guide explains acrylic nail powder in plain language: what it is, how it works with monomer, which type to choose, and how to use it more safely.
1. What Is Acrylic Nail Powder?
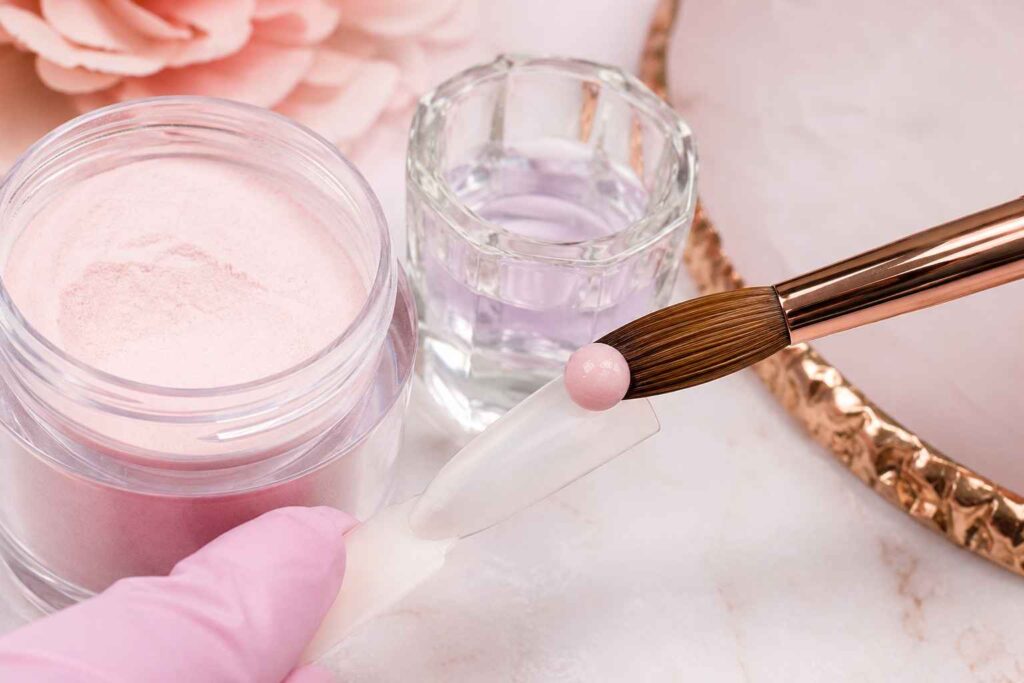
Acrylic nail powder is the polymer part of a traditional liquid-and-powder nail system. The separate liquid is called monomer. When a brush carrying monomer touches the powder, the two create a workable bead that is placed on the nail, shaped, and left to harden in the air.
So the powder doesn’t work properly alone. It needs a compatible monomer and the correct liquid-to-powder balance. The powder also contains ingredients that help begin the curing reaction and give the finished enhancement its structure.
2. How Does Acrylic Nail Powder Work?
The liquid and powder begin a chemical reaction called polymerization. During this process, the soft bead gradually becomes a solid nail coating—without requiring an LED or UV lamp.
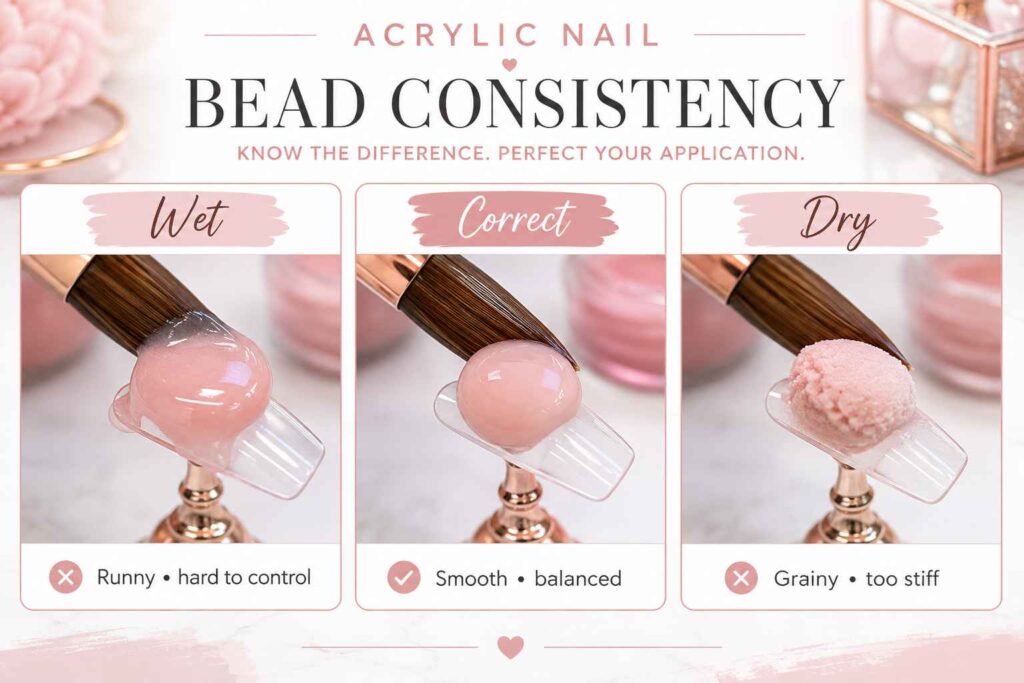
A bead that’s too wet may run toward the skin or create a weak structure. One that’s too dry can look grainy and set before it’s properly shaped.
The correct consistency differs slightly between product systems. This is why the manufacturer’s ratio and directions matter. For example, OPI describes the appropriate bead for one of its acrylic systems as medium-wet with slight texture, rather than dry or powdery.
3. Main Types of Acrylic Powder
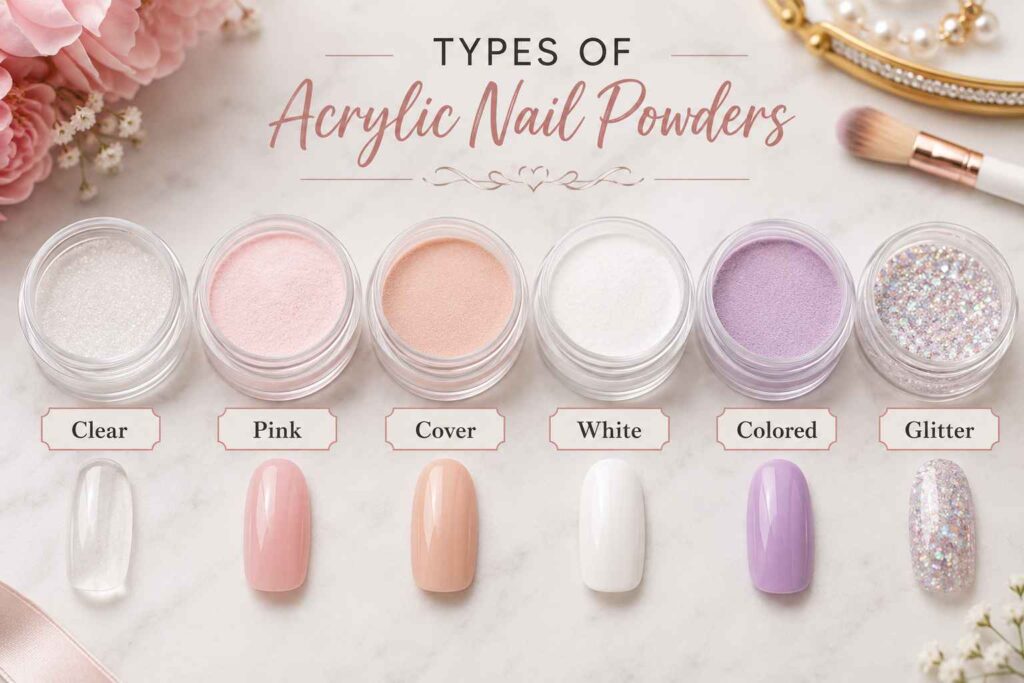
Not every jar has the same purpose. Some powders create the main structure of the enhancement, while others add camouflage, color, sparkle, or a crystal-clear finish.
| Powder type | Typical appearance | Common use |
|---|---|---|
| Clear | Transparent after application | Overlays and encapsulated nail art |
| Natural or pink | Soft natural-nail shade | Everyday enhancements |
| Cover or camouflage | Opaque nude, beige, or pink | Hiding uneven color |
| White | Bright or soft white | French tips and ombré |
| Colored | Fully pigmented | Full-color sets and nail art |
| Glitter | Clear or colored sparkling blend | Accent nails and designs |
Beginners can usually start with clear, natural pink, and one medium-coverage nude. A huge collection looks tempting…but three useful shades are better than twenty jars you’ll hardly touch.
4. How to Choose Acrylic Nail Powder
A very fine acrylic nail powder may pick up smoothly, but particle size isn’t the only sign of quality. The complete formula matters, including how the powder has been designed to cure with its matching liquid.
Choose a product with:
- Clear ingredient and safety information
- Predictable setting time
- Consistent color
- Proper storage instructions
- A compatible monomer
- Education or technical guidance from the brand
An unmarked bargain jar may save money today, yet create far more trouble later.
Powders can contain different polymer blends and curing ingredients, so assuming every powder works equally well with every monomer may lead to unpredictable curing or strength.
5. Pick a Setting Speed That Matches Your Skill
Fast-setting acrylic nail powder products are usually better suited to experienced technicians who already work quickly. Beginners often need more time to position the bead, smooth the surface, create the apex, and keep the material away from the cuticle.
A slower or medium-setting system provides extra working time to:
- Position the bead correctly
- Smooth visible bumps
- Create balanced structure
- Refine the sidewalls
- Keep the product off surrounding skin
But slower doesn’t mean you can brush the product endlessly. Overworking a bead often makes the surface uneven. Sometimes it’s better to stop, let it set, and correct the shape carefully during filing.
6. What Do You Need?
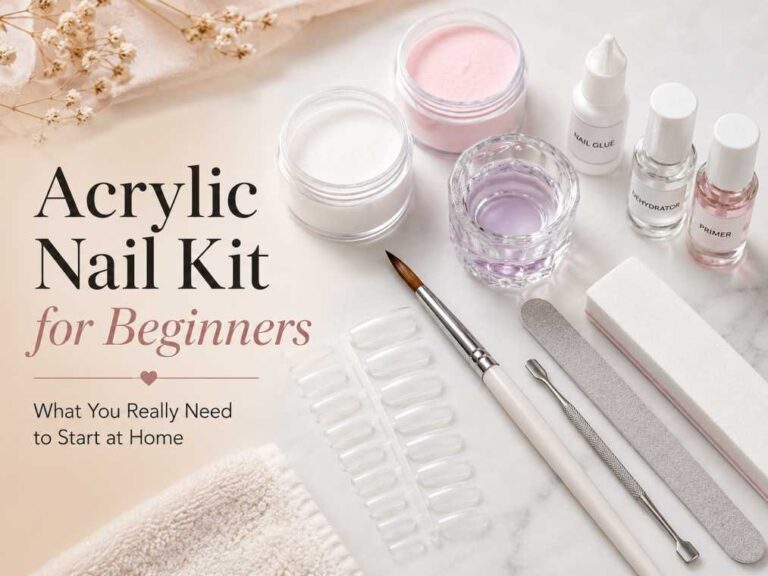
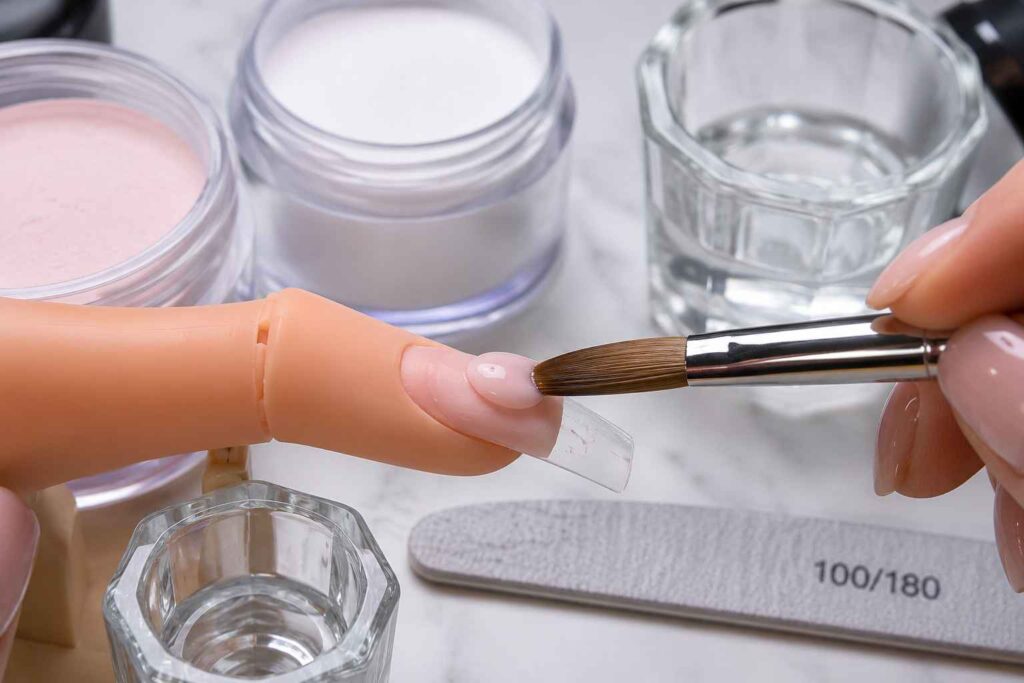
Before using acrylic nail powder, a basic setup normally includes:
- Acrylic powder and compatible monomer
- An acrylic brush
- A glass dappen dish
- Nail files and buffers
- Lint-free wipes
- Nail-preparation products
- Tips or sculpting forms when adding length
- Cuticle oil and finishing products
- A clean and ventilated workspace
For a complete beginner shopping list, read our guide to choosing an acrylic nail kit.
Planning the full setup first prevents that annoying moment when you discover one missing item halfway through your manicure. Which happens…quite often.
7. Basic Acrylic Application Process
Each professional system has its own directions, but the general process is fairly easy to understand:
- Clean and gently prepare the natural nail.
- Apply a tip or sculpting form when creating additional length.
- Pour a small amount of monomer into a dappen dish.
- Saturate the acrylic brush and control the excess liquid.
- Touch the brush into acrylic nail powder to pick up a bead.
- Place and guide the bead without touching the surrounding skin.
- Build the structure with additional beads when needed.
- Allow the material to set fully.
- File, shape, smooth, and finish the enhancement.
Professional application instructions commonly emphasize leaving a small margin near the cuticle and allowing the product to set before filing.
Practice on plastic tips or a training hand before working on your natural nails. Your first few beads may look strange. Too wet, then too dry, then somehow both…
That’s normal. Really normal.
8. Common Beginner Mistakes
Most acrylic problems come from preparation, ratio, product placement, or weak structure.
Watch out for these mistakes:
- Mixing powder and monomer from unrelated systems
- Consistently creating beads that are too wet
- Picking up dry and grainy beads
- Flooding the cuticle area
- Filing the natural nail aggressively
- Making the whole nail thick instead of building balanced structure
- Ignoring lifting around the edges
- Picking or pulling acrylic off
- Leaving chemical containers open
- Working in a completely closed room
And one more—expecting both hands to look identical on the first attempt. They probably won’t.
9. Is Acrylic Nail Powder Safe?
The cured acrylic polymer is generally considered relatively safe. However, traces of reactive monomer and repeated contact with uncured products may cause sensitivity or allergic reactions in some people.
Redness, swelling, itching, pain, or irritation around the nail shouldn’t be ignored. The FDA recommends reading product warnings carefully, avoiding unnecessary skin contact, and using nail products in a well-ventilated area.
Keep containers closed when they aren’t being used. Work away from flames, food, drinks, and children. Avoid breathing unnecessary vapor or filing dust.
CDC/NIOSH also recommends ventilation and other exposure controls for nail technicians because salon workers may regularly breathe vapors and dust or absorb chemicals through their skin.
Stop using the product and seek qualified medical advice if a reaction develops. Don’t simply hide irritated skin beneath another enhancement.
10. How Long Does Acrylic Last?
A properly applied acrylic set can remain wearable for weeks, but the exact timeline depends on several things:
- Natural nail growth
- Nail preparation
- Product application
- Lifting or cracking
- Daily activities
- Exposure to water and chemicals
- Maintenance and refill schedule
As the natural nail grows, a visible gap gradually appears near the cuticle. Lifting also needs attention rather than being covered repeatedly.
Read our full guide on how long acrylic nails last, refill timing, signs of lifting, and guidance on when complete removal may make more sense.
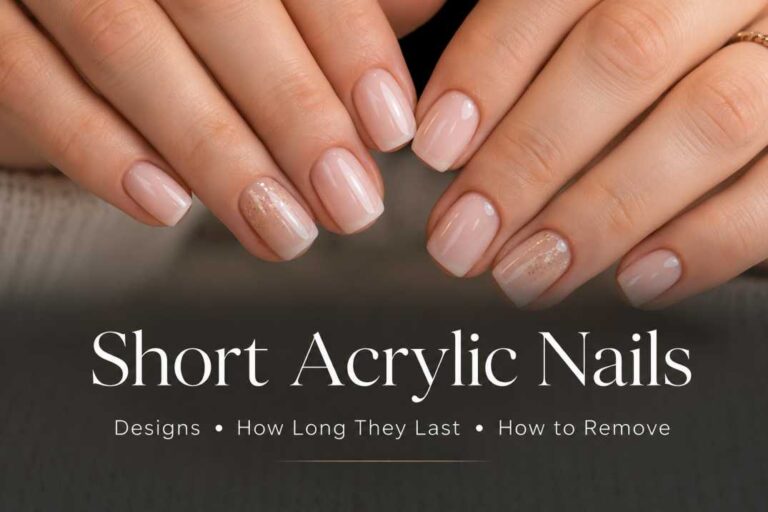
11. Acrylic Powder Works for Short Nails Too
Long extensions receive most of the attention online, but acrylic can also add strength and structure to shorter styles.
A carefully built overlay can create a polished shape without adding dramatic length. And short nails often feel easier for typing, housework, office tasks, and everyday wear.
Browse these short acrylic nails for wearable shapes, colors, and simple design inspiration.
Popular short shapes include:
- Soft square
- Rounded square
- Natural round
- Short almond
- Short oval
Nude, soft pink, milky white, glitter, and colored acrylic powder can all work beautifully on shorter nails.
Final Thoughts
Good acrylic nail powder results don’t come from the powder alone. Monomer compatibility, brush control, nail preparation, bead ratio, structure, ventilation, and removal all matter—sometimes more than the color printed on the jar.
Start with one matched system. Read the instructions. Practice slowly.
And don’t chase perfect salon nails on day one…a clean, controlled application is the better first goal.
Frequently Asked Questions
Is acrylic nail powder the same as dip powder?
Both may use acrylic-based polymer powders, but the application systems are different. Traditional acrylic powder is mixed with liquid monomer and sculpted using a brush. Dip powder is generally applied with resin or base liquids followed by an activator.
Can acrylic powder be used without monomer?
Traditional acrylic powder needs a compatible monomer to form a workable bead and cure as intended. Water, acetone, regular nail-polish remover, or ordinary alcohol aren’t suitable substitutes.
Can I mix acrylic powder and monomer from different brands?
Some combinations may appear to work, but the setting speed, strength, color stability, and correct ratio can vary. A manufacturer-matched powder and monomer system is usually more predictable.
Why is my acrylic bead runny?
Your brush may be carrying too much monomer, or your pickup technique may not suit that specific powder. Remove slightly more liquid from the brush and adjust gradually rather than making a dramatic change.